we read some great books and then everyone wanted to take a turn doing our art activity; there’s nothing like a little painting and printing to start off a long weekend in lockdown!
this activity is super fun and easy and great for all ages. kids as young as 18 months can even give it a try (with a parent’s help, of course)- and even the teenagers in our house had fun with it.
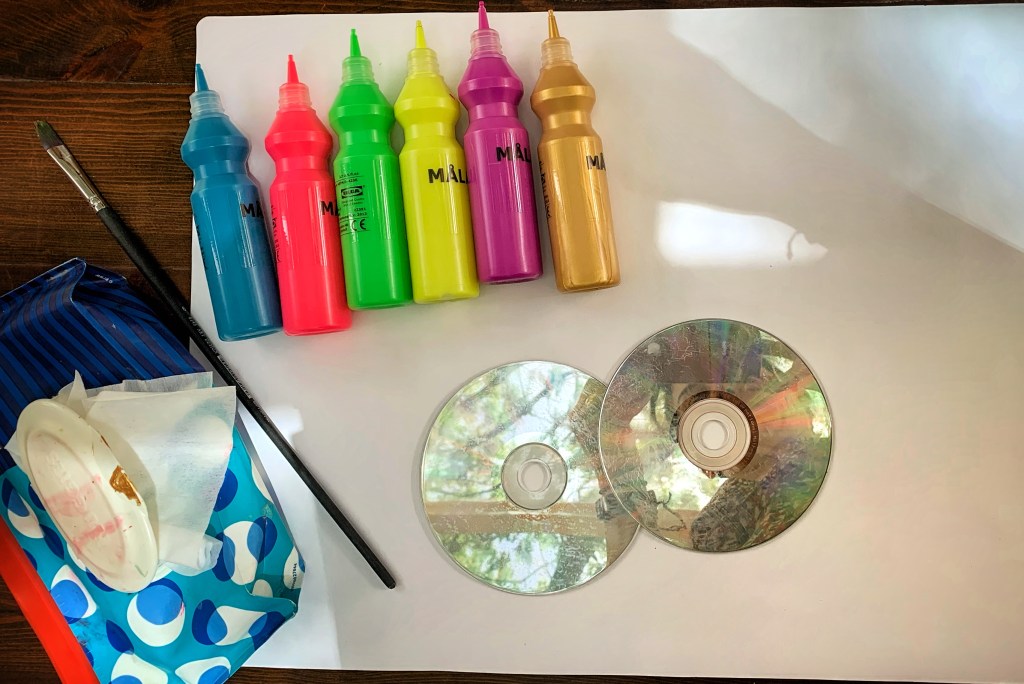
materials-
an old cd or large jar top
washable liquid paints
paintbrush
lots of paper
scissors
instructions-
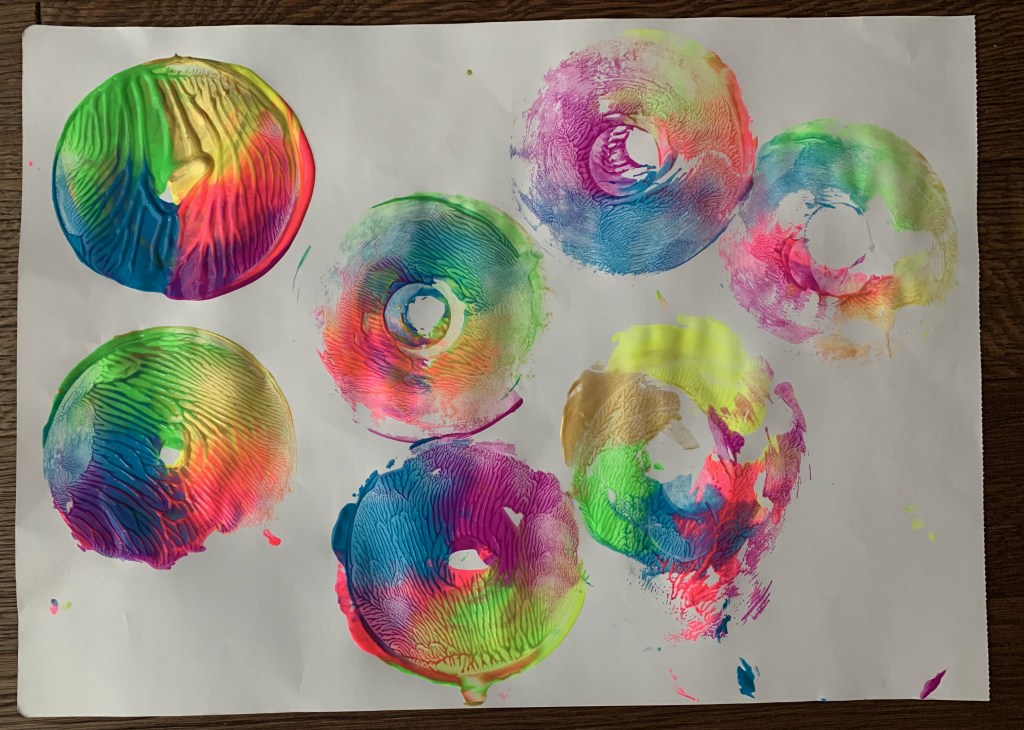
cover the shiny side of the cd with generous amounts of paint
we painted large stripes of each color for a more “rainbow like” effect
flip the cd over and print on the paper
twist cd on paper to create a swirled effect
allow to dry thoroughly and then cut out round prints
use as notecards or gift cards or even fancy to do lists
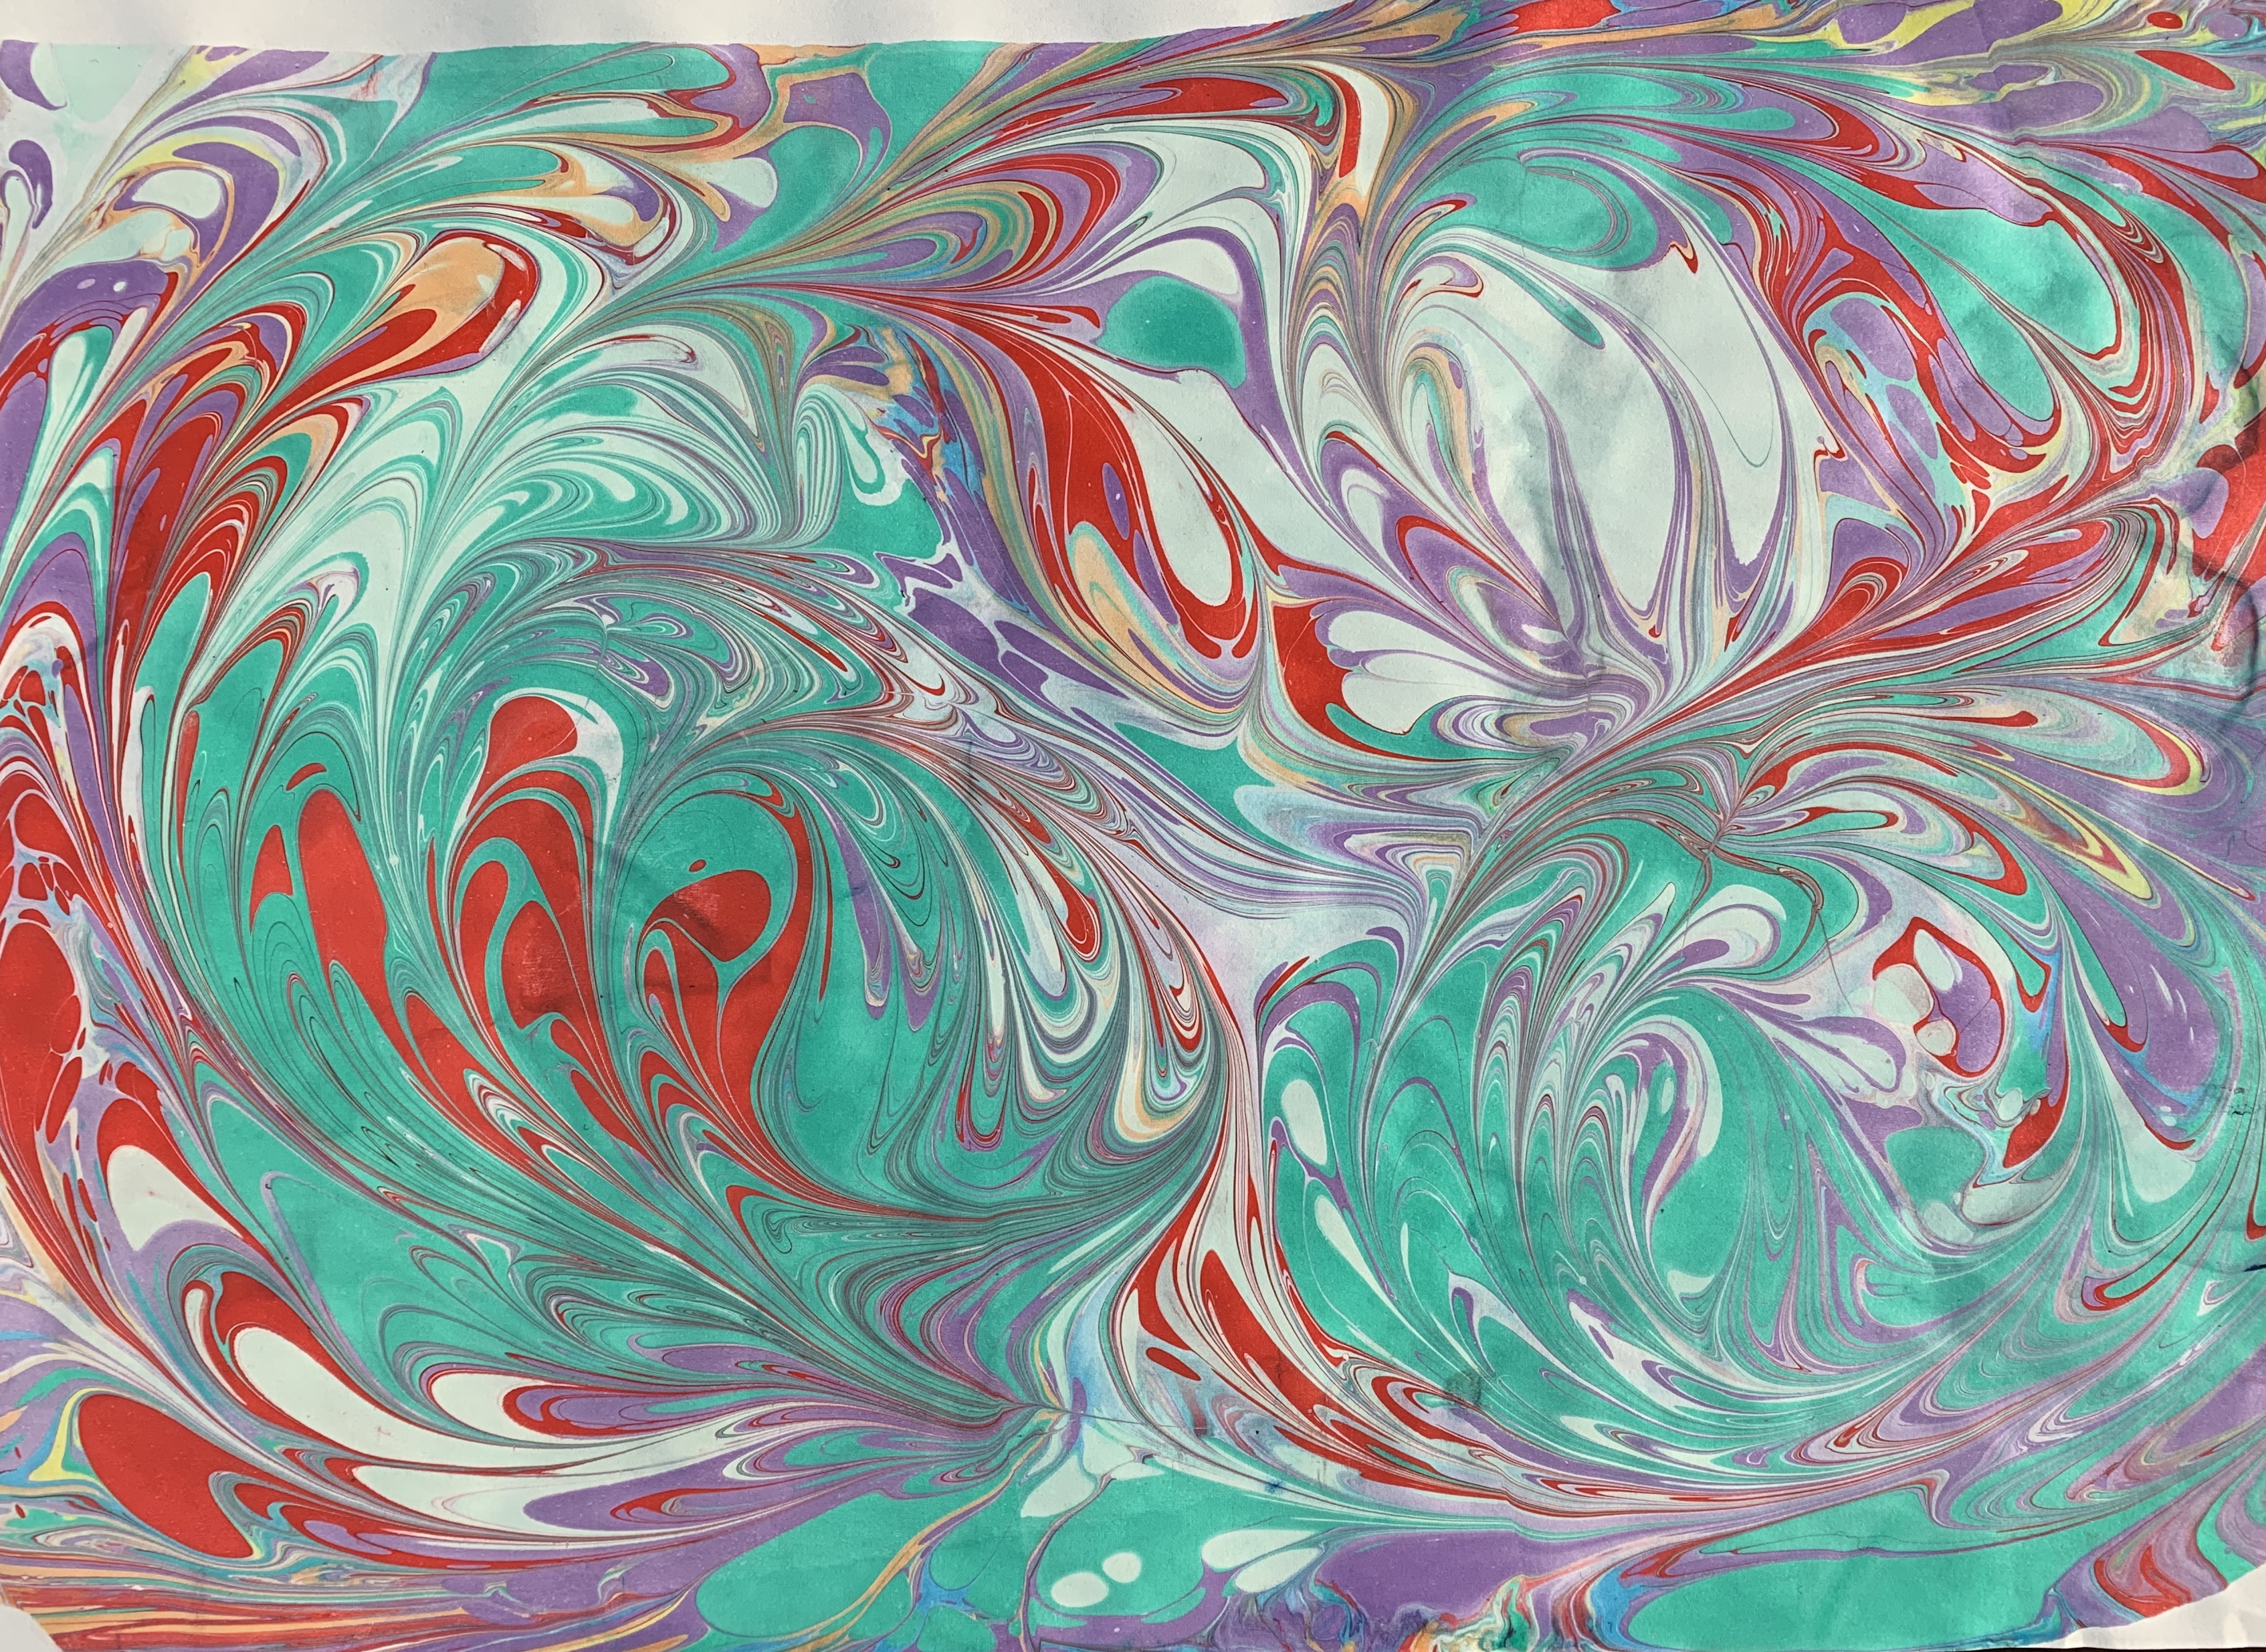
a traditional and familiar art form here in turkey; no one is quite certain of exactly when and where the art of ebru first developed. ebru art has been mentioned in texts found in turkmenistan and samarkand dating back to 13th century and in those from the iranian area of herat from the 14th century. the oldest remaining actual example of the art though, is from 1447 and is currently housed in the topkapi palace museum.
during the ottoman era, papers decorated with ebru art were often used for official purposes such as government documents, property deeds, or personal checks. the intricate patterns made each paper noticeable and recognizable. it is likely that this was a type of precursor to the complicated designs that are still used in modern day currencies as part of anti-fraud measures.
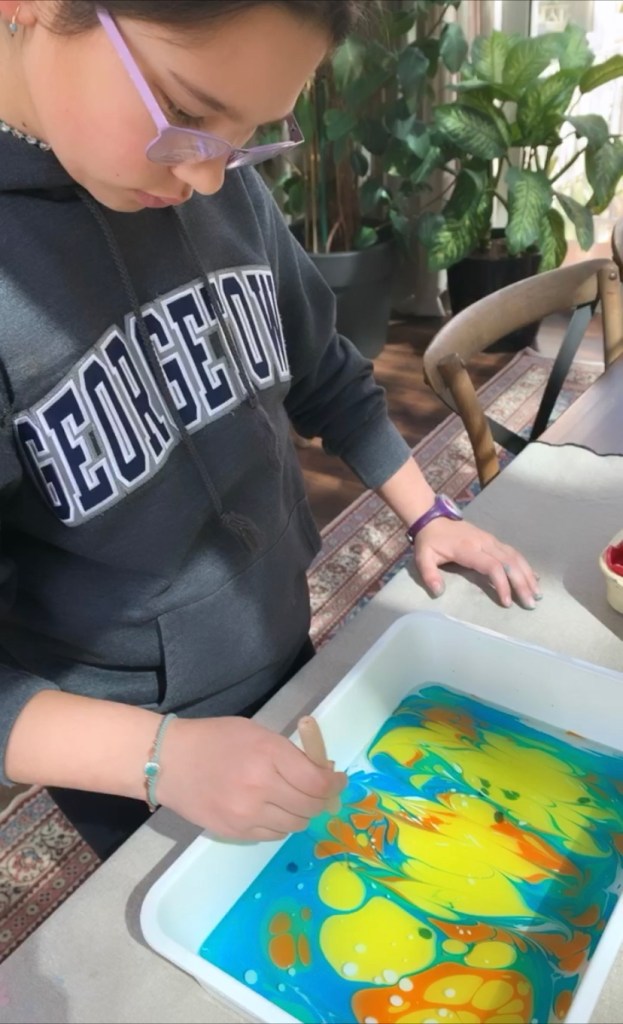
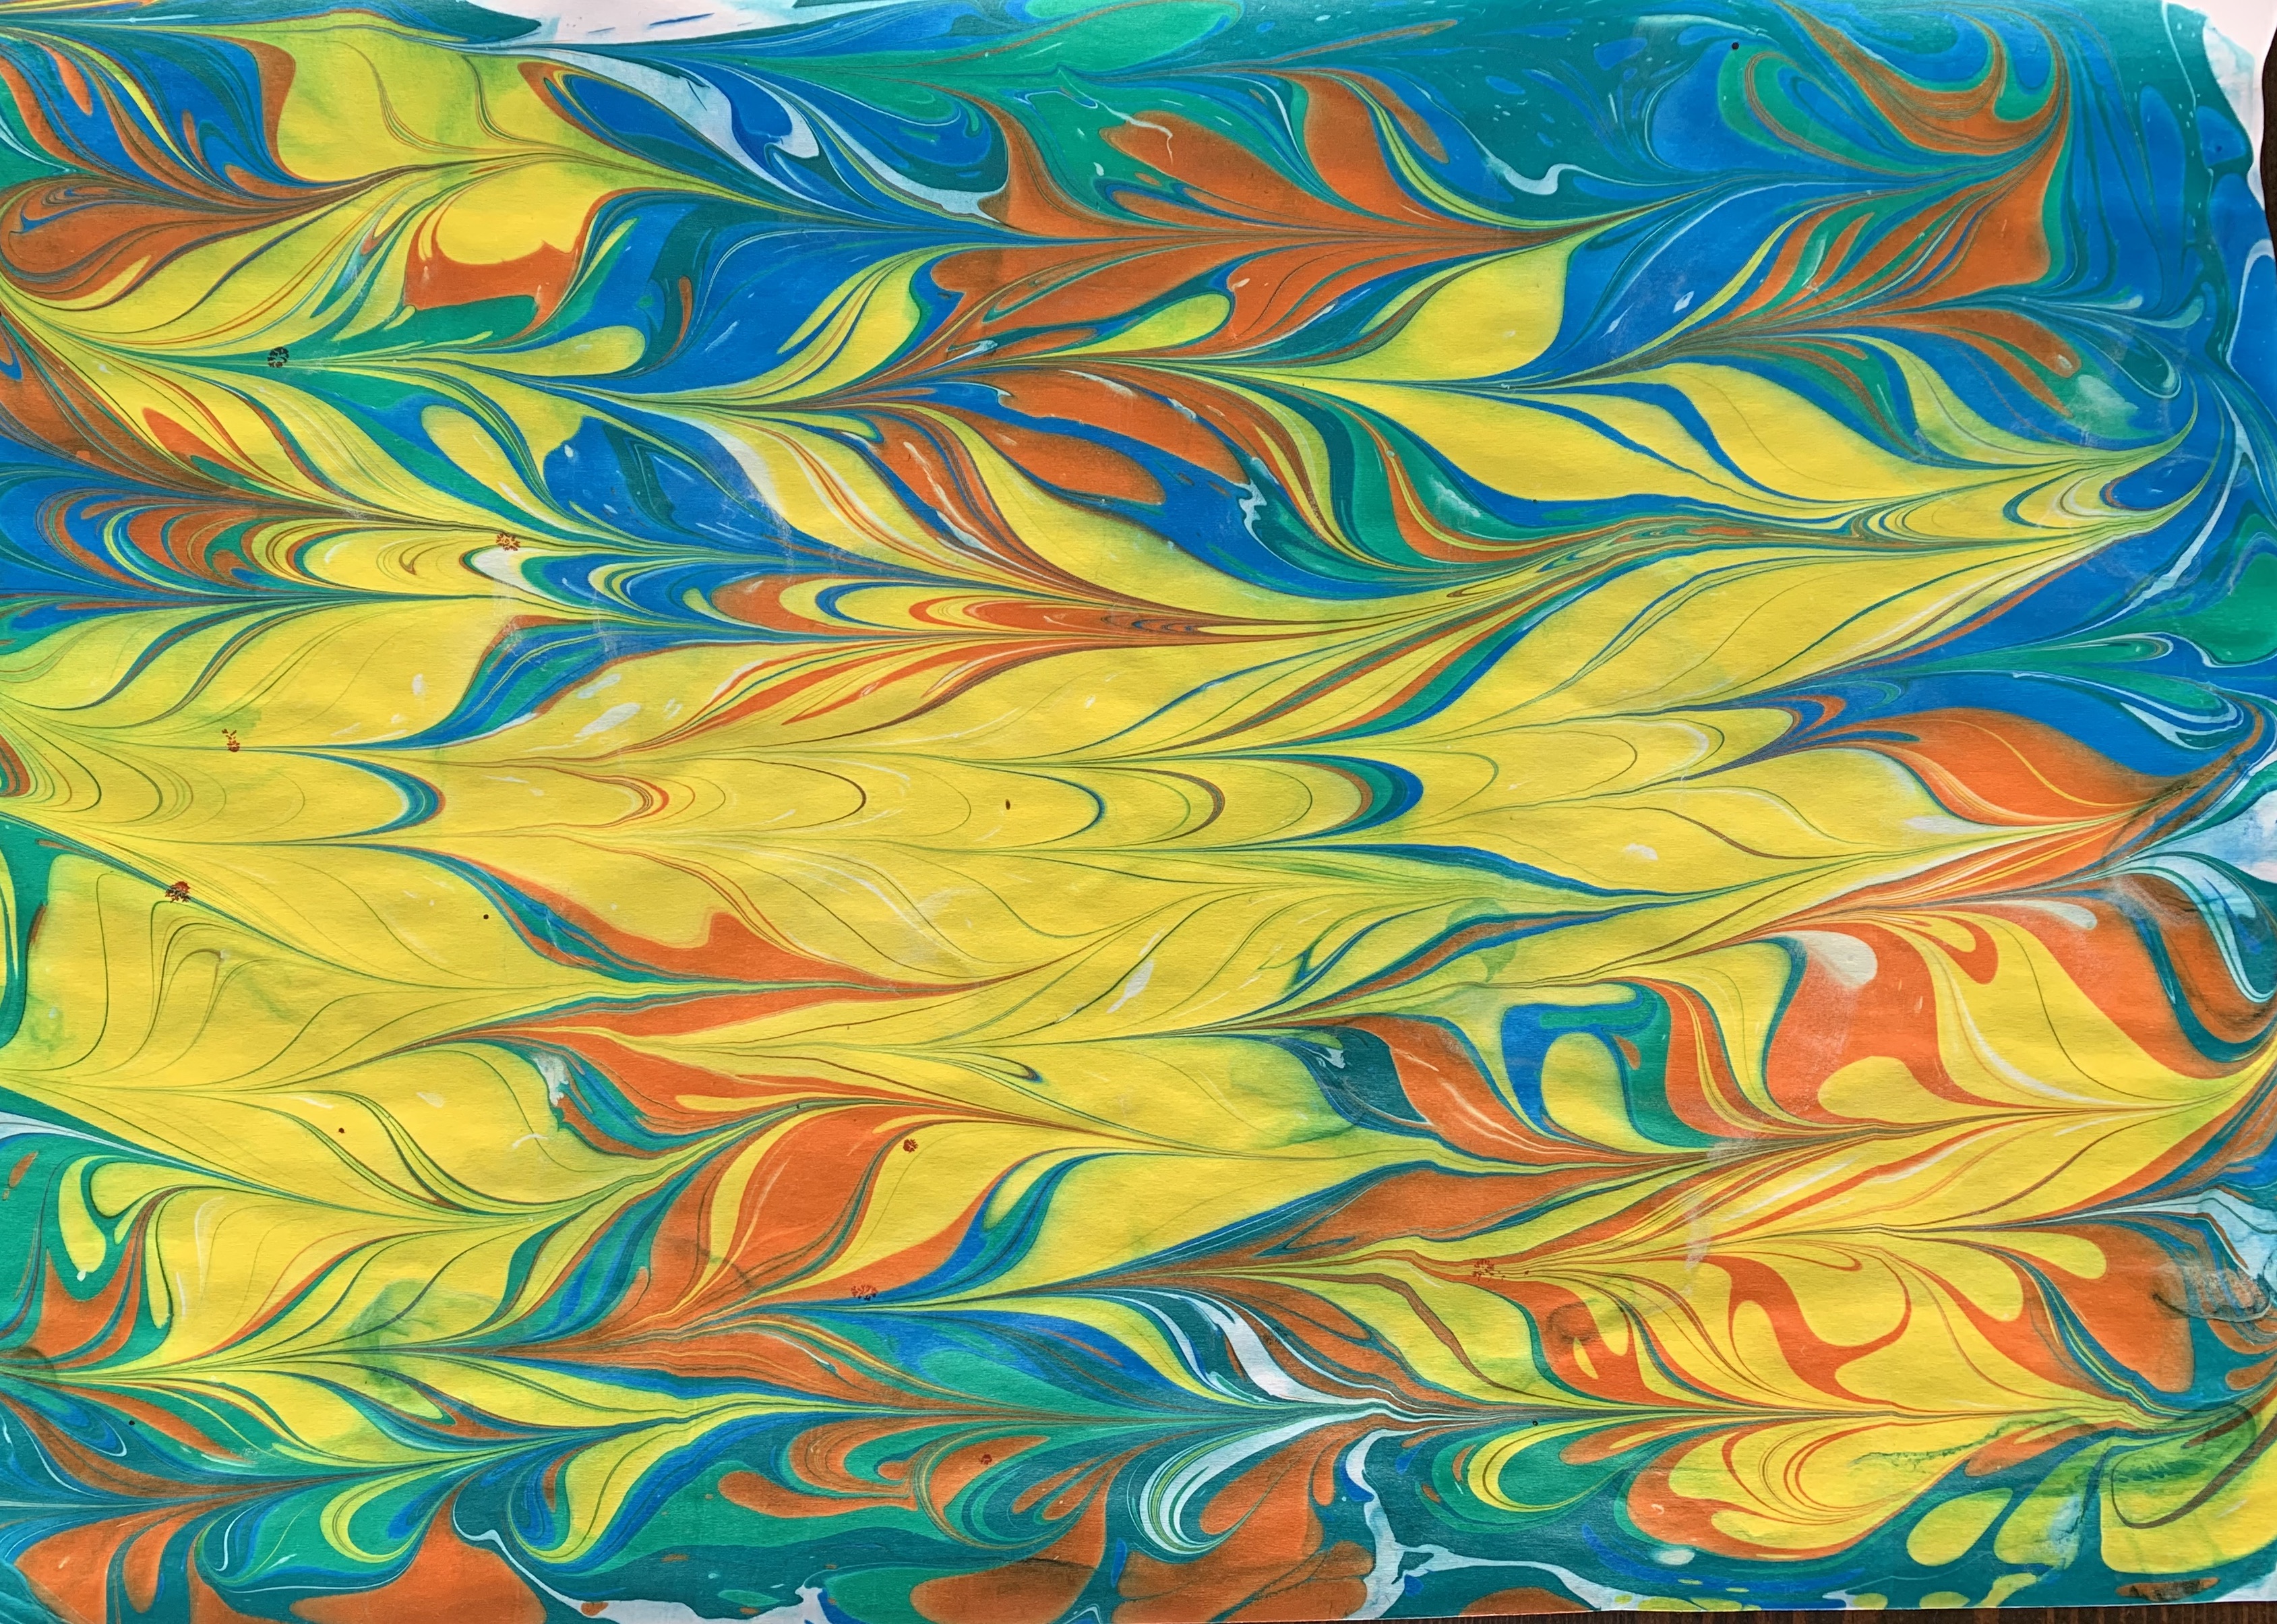
traditional ebru work is done by first preparing an oil-based liquid in a large rectangular dish. drops of ink are then dripped into the gooey liquid providing the color for the artwork. the artist then uses various utensils that range from a needlelike tool to thick and thin brushes the spread the paint and create different shapes and patterns. finally, a paper is laid on top of the solution and gently removed with the designs now transferred onto the paper.
the whole process is actually quite complicated; the base liquid takes two or three days to prepare, the paints are quite finicky, and creating proper designs takes patience and practice.
over the past couple of weeks, we have been rediscovering our arts and crafts closet here at home and we were thrilled to find a fully stocked ebru kit that alegra received as a birthday gift last june! we immediately pulled it out and got to work- and we had so much fun!
everyone took a turn creating and it was great to see all the different possibilities of color combinations and some of the designs that we came up with were absolutely stunning!
here are some of our ebru creations:
this ebru work also reminded us of another; super fun, way to do ebru- with SHAVING CREAM! i highly recommend doing this outside on a less valuable surface because, let’s be honest, it is a good way to make a big mess… but it is so much fun, and the results are actually really pretty. shaving cream ebru is a fantastic way to introduce the art to smaller children. this is also a perfect process art project for toddlers- they get to get messy with paints and explore colors and patterns galore!
there is really no right or wrong way to do this; gather your materials and just start creating… check out alegra’s video below for some inspiration 🙂
materials-
large sheets of white paper
liquid paints
shaving cream (make sure it is the foam kind, not the gel)
brushes of varying size and thickness
instructions-
squeeze and spread shaving cream all over your paper (use your hands!!)
add drips of paint as desired
use your fingers or brushes to create designs in the shaving cream
allow to dry fully before moving
shaving cream has a tendency to fall off the paper once it is dry so saving these projects can be a bit tricky- be sure to take a photo!
**for those of you that would like to try it, the ebru set we have at home is for sale here**
the tate modern museum in london defines cubism as, “a revolutionary new approach to representing reality invented in around 1907–08 by artists pablo picasso and georges braque. they brought different views of subjects (usually objects or figures) together in the same picture, resulting in paintings that appear fragmented and abstracted.”[1]
kidsz’s child oriented definition explains that cubism is, “a style of art which aims to show all of the possible viewpoints of a person or an object all at once. It is called cubism because the items represented in the artworks look like they are made out of cubes and other geometrical shapes.”[2]
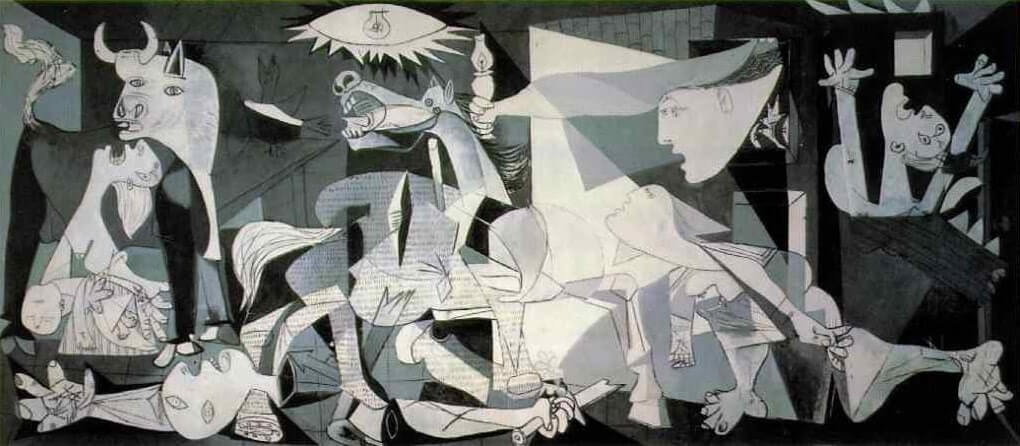
many early cubists painted and drew in monochrome so that their audiences would focus more on the geometrical shapes than on the colors represented in the art. however, picasso soon changed this trend by introducing color into his cubist pieces.
here are some of picasso’s well-known cubist works[3]:
ask your kids to describe the shapes they see in each one; the three musicians work is especially geometric…
you can also visit tate kids for some great information on picasso and his other works-
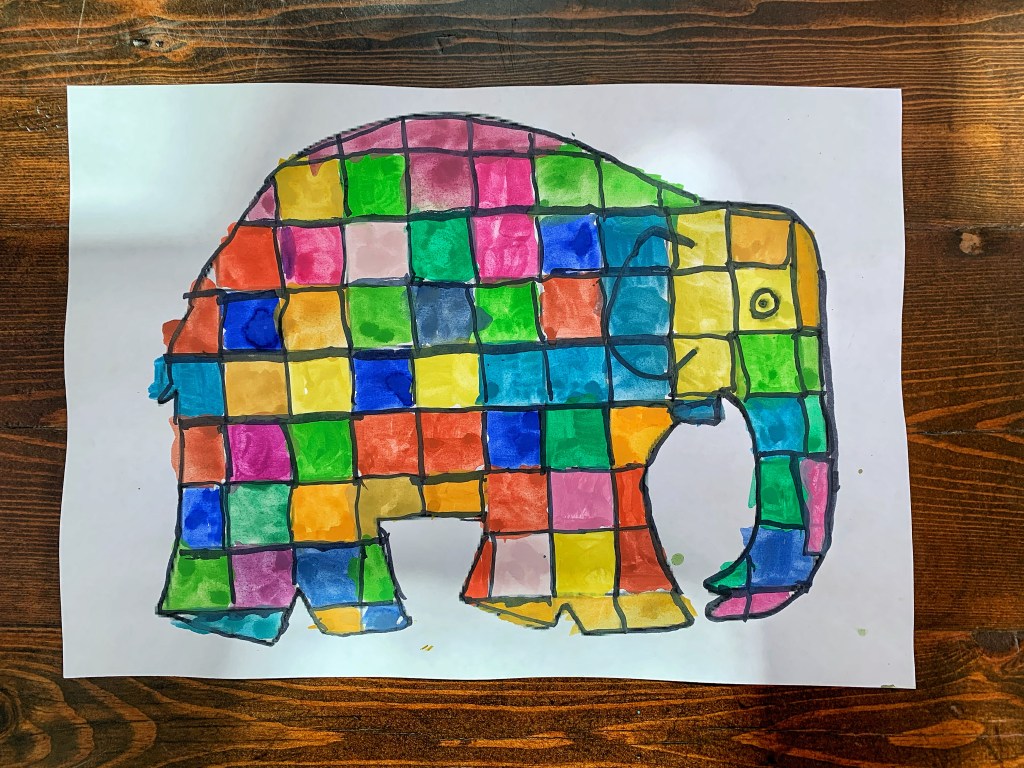
this week’s art @ home project helps to introduce children to some basic cubist ideas; particularly the notion of fragmentation and abstraction in art, and also focusing on geometrical shapes (part of alegra’s e-learning this week).
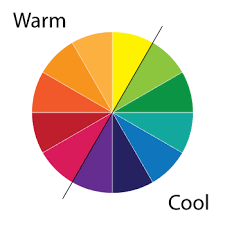
while painting, we also talked about warm and cool colors; painting the inside of the heart with warm colors and using cool colors for the outside.
here is an easy way to remember the warm and cool colors using a color wheel:
all the materials used are simple and should be easy to find even during these times of social distancing. we used watercolors but markers, colored pencils or pastels will work just as well.
materials-
a4 white paper
pencil
ruler
black marker
watercolors
paintbrush
water cup
instructions-
draw a large shape in the middle of your paper- we drew a heart but anything will work- some ideas might be a flower, butterfly, tree or even a soccer ball
use the ruler to draw 4-6 straight lines from one side of the paper to the next; criss-crossing your main shape (more lines will make painting harder, but might be fun for older children)
use a black marker to outline all the lines
decide which parts will have warm and cool colors and start painting!